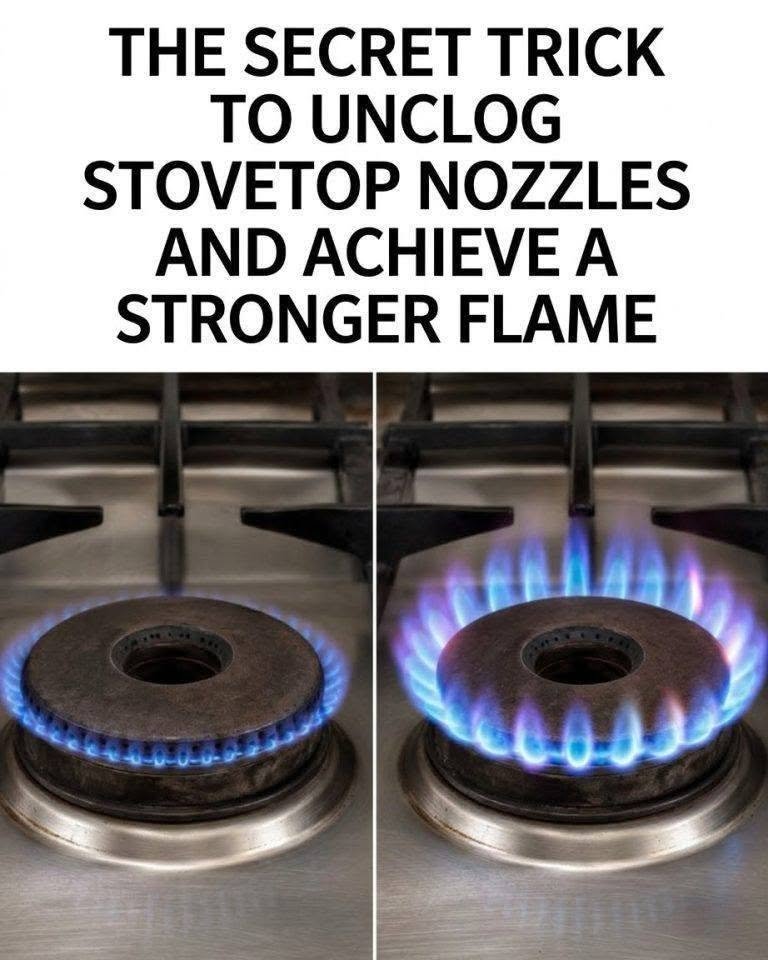
The Secret Trick to Unclog Stovetop Nozzles and Achieve a Stronger Flame!
Step 3: The Precision Scrub
Once the components have soaked, it is time to clear the ports.
The Toothbrush Method: Take an old, soft-bristled toothbrush and scrub the burner heads and caps thoroughly. Pay special attention to the small ports around the edge. The bristles are perfect for getting into the tiny crevices.
The Toothpick Trick: For ports that are stubbornly clogged, use a wooden toothpick. Gently insert the tip into each port and twist it to dislodge the debris. Wood is soft enough that it will not scratch or damage the metal, unlike a paperclip or a needle.
Rinse Thoroughly: Once you have scrubbed all the ports, rinse the components with clean, warm water to remove all traces of soap and loosened debris.
Step 4: Cleaning the Igniter and Stovetop Surface
While the burners are soaking, take the opportunity to clean the area beneath them.
Clean the Igniter: The igniter is the small ceramic piece with a metal tip. Use a cotton swab dipped in rubbing alcohol to gently wipe the metal tip. A dirty igniter will struggle to create a spark.
Clean the Stovetop: Wipe down the surface of the stovetop with a damp cloth and a mild cleaner. Be careful not to push any debris down into the holes where the burners sit.
Step 5: The Crucial Drying Process
This step is absolutely critical. If you reassemble the stovetop while the burner components are wet, the water will block the gas flow, and the stove will not light.
Air Dry: Allow the components to air dry completely. You can place them on a clean kitchen towel.
Towel Dry: Once they are mostly dry, use a dry towel to wipe them down thoroughly, ensuring no moisture remains in the ports or crevices. You can even use a hair dryer on a cool setting to ensure every port is perfectly dry.
Step 6: Correct Reassembly
Reassembling the stove correctly is the final key to a strong flame.
Replace the Burner Heads: Place the burner heads back onto their respective bases. Ensure they sit completely flat.
Align the Caps: This is the most common mistake. Many burner caps have a small notch, a pin, or a specific alignment mark on the underside. Ensure this aligns perfectly with the burner head. If the cap is even slightly misaligned, the flame will be uneven, sputter, or turn yellow.
Replace the Grates: Carefully place the heavy grates back over the burners.
Step 7: The Test
Turn the burner knob to the “ignite” position. You should hear the sharp click of the spark and see a strong, even, blue flame bloom around the entire perimeter of the burner. If you see a yellow tip that disappears after a few seconds, it was just a little residual moisture burning off. If the flame remains weak or yellow, you may need to repeat the cleaning process or check the air shutter.
Advanced Troubleshooting: When the Trick Isn’t Enough
If you have thoroughly cleaned and dried the burners, but the flame is still weak, there are a few other factors to consider.
1. The Air Shutter
The air shutter is a small metal collar at the base of the burner tube that controls the mix of air and gas. If it is closed too far, the flame will be yellow and lazy. If it is open too far, the flame might “lift off” the burner and go out. It is usually held in place by a small screw. If you suspect this is the issue, you can carefully adjust it while the flame is on, looking for a steady, blue flame. However, if you are unsure, it is best to call a professional.
2. Moisture in the Gas Line
Sometimes, particularly in humid climates or after a heavy rain, moisture can enter the gas line. This usually resolves itself after the stove has been run for a few minutes, as the moisture is burned off.
3. Gas Pressure Issues
If all the burners on your stove, as well as your oven, are showing a weak flame, the issue is likely not the individual burners. It could be a problem with the gas supply to your home, a faulty regulator, or a partially closed shut-off valve. You should contact your gas provider or a licensed technician to investigate.